Create scroll-stopping product photography with iPhone
You don’t need a fancy camera or expensive equipment to take amazing photos of your products. Nope, just grab your iPhone! These days, product photography with iPhone is not just doable—it’s totally game-changing for fashion small businesses like yours. Great photos can make your products pop, tell your brand story, and (most importantly) drive sales.
Think about it: your customers can’t touch or try on your products online. Your photos? They’re the next best thing. Crisp, clear, and professional-looking images can make all the difference in catching someone’s eye and convincing them to click "add to cart." The good news? You can achieve all that with the phone in your pocket.
In this post, we’ll walk you through everything you need to know about shooting scroll-stopping product photos using your iPhone. From setting up your space to editing like a pro, we’ve got you covered.
Plus, we’ll throw in some extra tips just for fashion brands—because clothes, accessories, and fabrics deserve a little extra love in front of the lens. Ready? Let’s turn your iPhone into your secret weapon for standout product photography!
Gear up: What you need to get started
Before diving into product photography with iPhone, it’s important to have the right tools to make the process smooth and your photos stunning. Don’t worry—you don’t need to spend a fortune. Most of these essentials are affordable and easy to find. Let’s start with the basics.
- Your iPhone
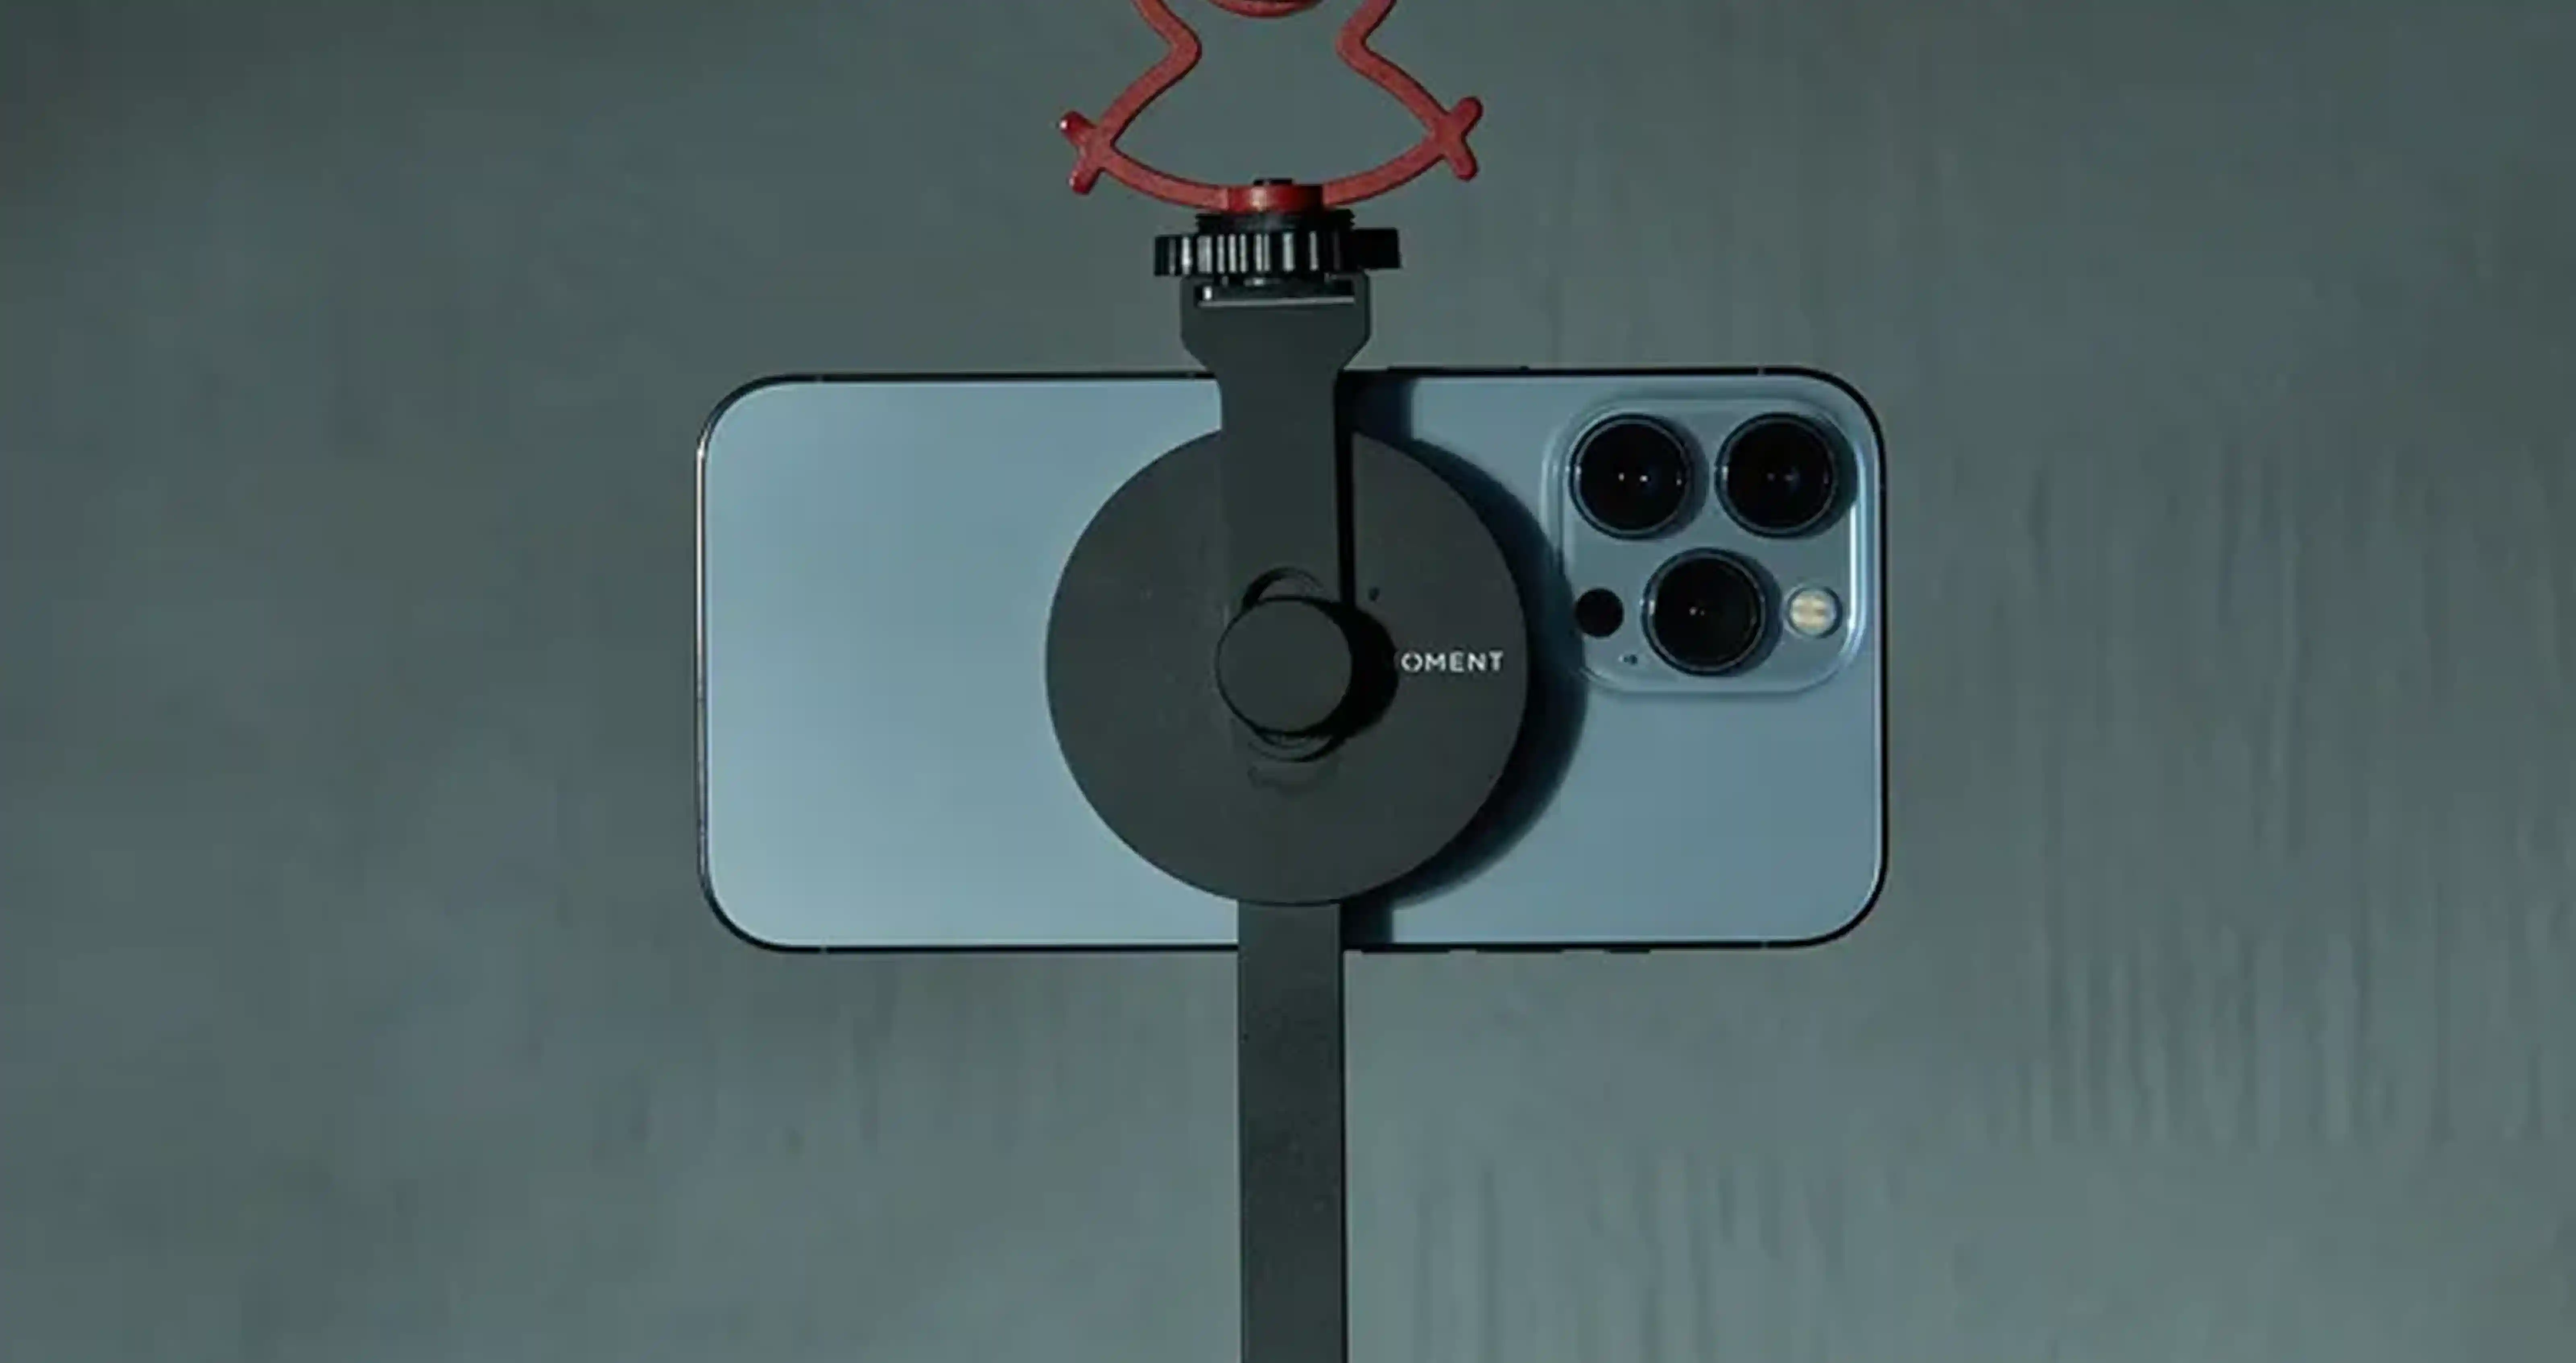
Your iPhone is the star of the show. Newer models like the iPhone 13 or 14 have incredible cameras, but don’t stress if you have an older version. - A tripod
A stable shot is key. Even the steadiest hand can’t compete with a good tripod. It keeps your iPhone steady and ensures your photos aren’t blurry. - Lighting
Great lighting can make or break your photos. Natural light is your best friend but investing in an inexpensive LED light or ring light is also a wonderful solution. - Backdrops
A clean, distraction-free background helps your product stand out. You don’t need anything fancy—a plain white poster board or a roll of white paper works perfectly. - Reflectors and diffusers
To take your photos to the next level, consider adding a reflector and diffuser to your setup. A reflector (even something as simple as a piece of white foam board) bounces light back onto your product, reducing shadows.
A diffuser (like sheer fabric) softens harsh light and creates a more flattering look for your items. With just these few tools, you’re ready to kick off your iPhone photoshoot. Next, let’s talk about setting up your space to create the perfect mini studio!
Setting up your DIY studio
Now that you’ve got your gear, it’s time to create the perfect space for your shoot. The beauty of product photography is that you don’t need a professional studio to get professional results. With just a little planning, you can transform any corner of your home or workspace into a photo-ready setup.

Choose the right spot
Natural light is a game-changer, so pick a spot near a big window. Look for soft, indirect light—think morning or late afternoon when the sunlight isn’t too harsh. If you notice shadows are still a bit strong, hang a sheer curtain or use a diffuser to soften them.
If natural light isn’t an option, no worries! A good ring light or LED panel can create the perfect brightness for product photography with iPhone.
Create a clean background
A clutter-free background ensures all the attention stays on your product. The simplest solution? A white poster board or roll of white paper. Curve it from vertical to horizontal (called a sweep) to avoid harsh lines in your background.
For clothing on models, go for simple, neutral backgrounds like a blank wall or a plain outdoor location with soft lighting. This keeps the focus on the outfit while giving the image a polished, professional vibe.
If you want to get creative, try colored paper or textured vinyl backdrops for a pop of personality that matches your brand.
Position your setup
Set your backdrop on a table and position your product in the center. For flat lays, use a sturdy surface and shoot directly overhead. Lay your clothing flat, ensuring there are no wrinkles. Arrange accessories or props around the item in a balanced, visually appealing way.
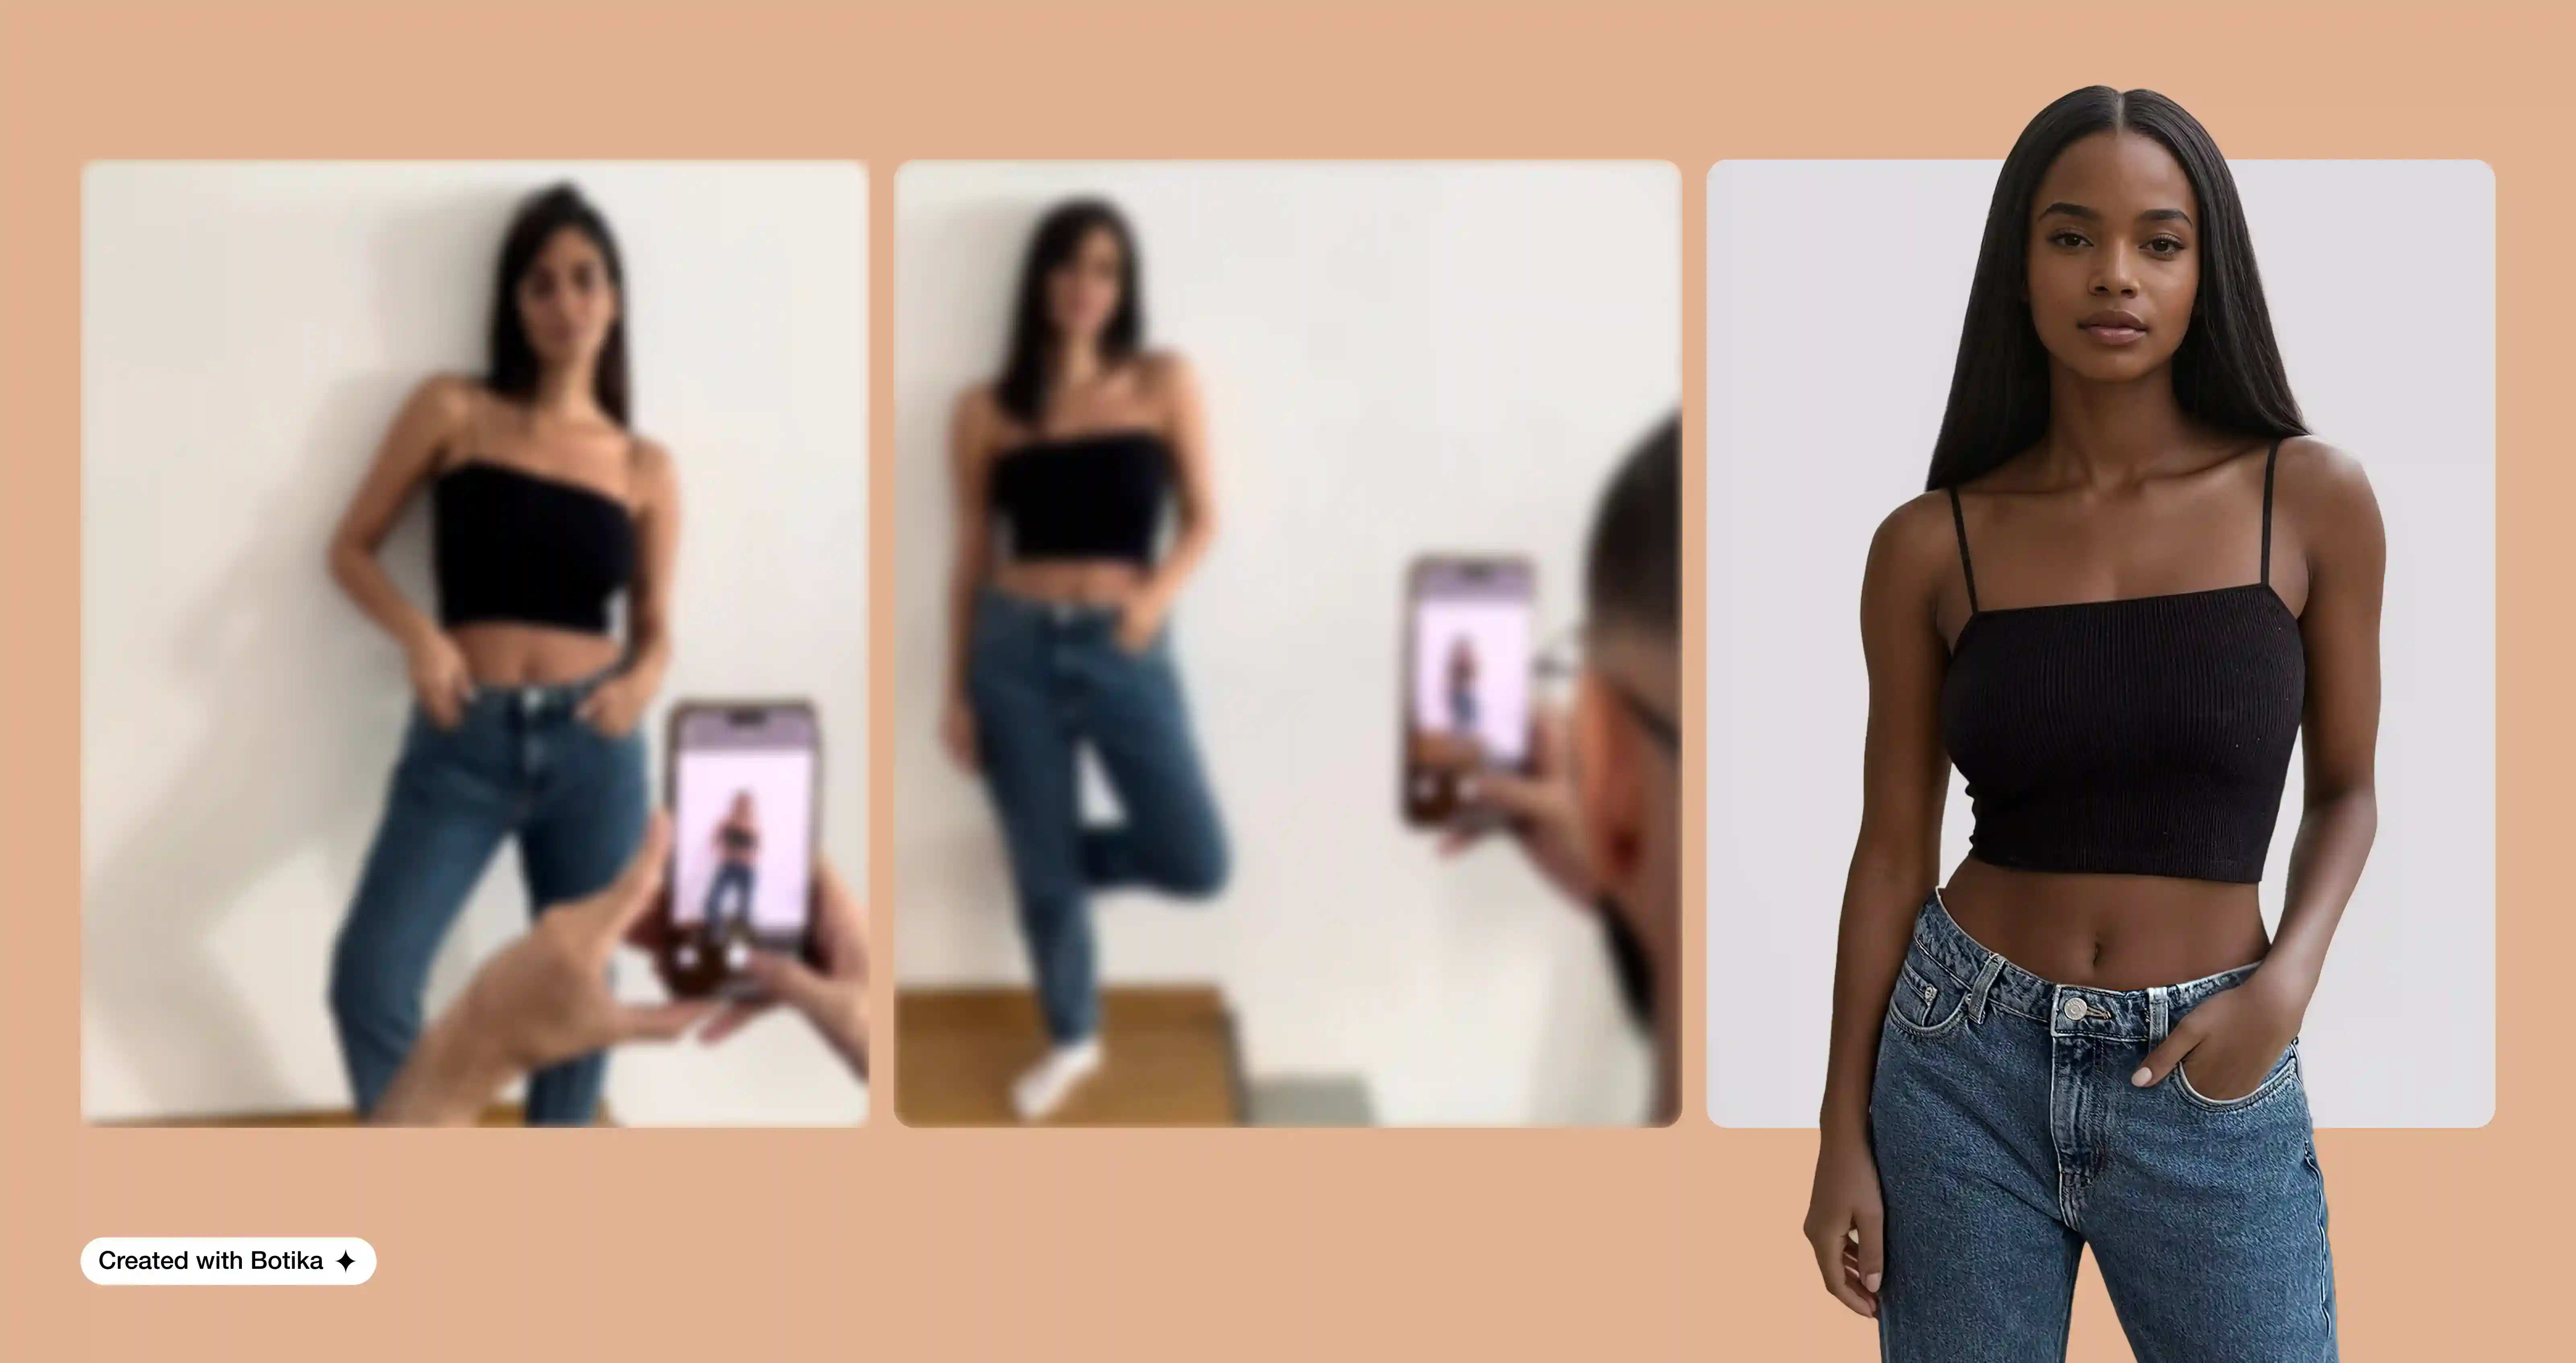
If you’re planning to use a tool like Botika to convert flat lays into on-model shots, focus on clear, straight-on images with good lighting and no obstructions. Keep the item centered and ensure all details, like seams and textures, are visible.
If you’re shooting on a model, positioning is everything. Choose a simple, neutral background and make sure your model is well-lit from all sides. Have them stand or move naturally, as stiff poses can make the product feel less relatable.
Capture a mix of angles—front, back, side, and close-up details—so customers can see the product from every perspective. Keep your iPhone at the model’s eye level or slightly below for a flattering angle, especially for full-body shots.
If you’re showcasing flowy fabrics or movement, use Burst Mode to capture the perfect action shot. By mastering these setups, you’ll have versatile images that work beautifully for both direct customer engagement and tools like Botika to further elevate your product photography!
Test your space
Before you start snapping away, take a few test shots to see how everything looks. Adjust your product placement, light angles, or background as needed. This little step saves time and frustration later.
With your mini studio ready to go, you’ve laid the foundation for killer product photos. Next, let’s make sure your products are prepped and picture-perfect!
Prepping your products
Before you start snapping, make sure your products are camera-ready. The last thing you want is for a stray wrinkle or smudge to steal the spotlight from your amazing fashion items.
Proper prep not only saves time during editing but also ensures your product photography with iPhone looks polished and professional right from the start.
Clean and tidy is key
For clothing, give every piece a thorough check. Use a steamer or iron to remove wrinkles, and make sure there’s no lint or dust. A lint roller is your best friend here.
Accessories like jewelry or shoes should be wiped clean to remove fingerprints or smudges. Remember, the more attention to detail you put into your prep, the better your products will shine in photos.
Style your products
Styling is where the magic happens. For flat lays, arrange the item neatly on a clean surface that will allow you to see the product well. You can also add props or complementary pieces to enhance the visual appeal. For example, pair a dress with matching shoes and a clutch, or show off a jacket with a folded scarf and handbag.
A styled flat lay isn’t just a photo—it’s a look customers can imagine themselves wearing. Plus, these types of images can easily be transformed into on-model shots using tools like Botika, giving you even more flexibility in your product presentation.
Accessories, like jewelry or bags, can add to the overall vibe of the look. Showcasing your products on a model helps customers visualize how the item looks when worn, boosting their confidence to make a purchase.
Whether flat lays or on-model shots, styling your products thoughtfully ensures they stand out and connect with your audience.
Showcase fit and details
Ensure the garment fits properly on a mannequin or model. Smooth out wrinkles or excess fabric by tucking, pinning, or taping as needed.
Highlight the details that make your product special—close-ups of buttons, stitching, or unique patterns are great additions to your shoot. Customers want to see the texture, quality, and craftsmanship, especially when browsing online.
Plan for multiple angles
Whether you’re working with flat lays, mannequins, or models, variety is key. Capture your product from the front, back, and sides to give customers a complete view, it’s easy to take plenty of shots to ensure you get the perfect angles for your online store and marketing.
By taking the time to prep your products, you’re setting yourself up for a smooth photoshoot and amazing results that truly represent the quality of your fashion items. Ready? Let’s dive into how to get the most out of your iPhone’s camera!
Mastering your iPhone camera
Your iPhone is a powerful tool, but to make the most of it, you’ll need to tweak a few settings and use some tricks. With the right approach, you can elevate your product photography with iPhone to a professional level that highlights every detail of your fashion items.
Use the right settings
First, enable gridlines in your iPhone camera settings. This helps you follow the "rule of thirds," a composition trick that makes your photos look balanced and visually appealing.
Next, tap on your product on the screen to set the focus. You can also slide your finger up or down to adjust the exposure and make sure the lighting looks just right.
Avoid using the built-in flash, as it can create harsh shadows and unflattering highlights. Instead, rely on natural or external lighting for the best results.
Your iPhone comes packed with features that can make your product photography shine:
- Portrait mode
Perfect for on-model shots, this mode creates a shallow depth of field, blurring the background and keeping all the focus on your product. - Night mode
Shooting in lower light? Night Mode automatically adjusts the exposure for crisp, detailed images, ideal for moody lifestyle shots. - Live photos
Enable Live Photos to capture a few seconds of movement. This can help you choose the perfect still frame, especially when photographing models in motion. - HDR (High Dynamic Range)
Turn on HDR to balance highlights and shadows, ensuring your product details don’t get lost in overly bright or dark areas.
Take advantage of burst mode
If you’re capturing movement, like the flow of a dress or a model walking, use Burst Mode. This allows you to snap multiple shots in quick succession, so you can choose the best one. It’s an easy way to ensure you capture the perfect moment without missing a beat.
Troubleshooting common product photography issues
Even with the best tools and setup, things don’t always go as planned. From blurry images to lighting mishaps, troubleshooting these common challenges can make your product photography with iPhone smoother and more professional. Let’s tackle some of the most frequent problems and how to fix them.
Blurry photos
Blurry images are often caused by camera movement or incorrect focus. To avoid this:
- Always use a tripod or phone stand to keep your iPhone steady.
- Tap on your product on the screen to lock focus. If your product has small details, zoom in slightly (using optical zoom, not digital) to get sharper shots.
- Use a self-timer or wireless remote to eliminate any shaking when you take the photo.
If the photo is still blurry, double-check that your iPhone’s camera lens is clean—a quick wipe with a microfiber cloth can make a big difference.
Dull or inaccurate colors
Colors that look off can misrepresent your product and disappoint customers. To ensure accurate colors:
- Adjust the white balance in a camera app like Adobe Lightroom or VSCO.
- Edit your photos to enhance color vibrancy while staying true to the product’s real-life appearance.
- Always test your lighting setup, as poor lighting can skew colors.
For items with intricate patterns or multiple tones, capture close-up shots to show the exact details.
Overexposed or underexposed images
Getting the lighting just right for product photography with iPhone is crucial. If your photos are too bright or too dark:
- Use the iPhone’s exposure adjustment tool by tapping and sliding up or down on the screen.
- Take test shots and review them to see if you need to reposition your light source or adjust your settings.
- For extreme cases, use an editing app to fine-tune brightness and contrast.
By tapping into these iPhone-specific features and tools, you’ll create photos that stand out and truly represent your fashion products. Next, let’s talk about editing those shots to perfection!
<blogcta-1>
Editing your photos like a pro
Once you’ve captured your images, it’s time to make them shine with some editing magic. The right edits can take your product photography with iPhone from great to absolutely stunning.
Don’t worry—you don’t need to be a professional designer to get the job done. With the right apps and a few tips, you can create polished, professional photos that highlight every detail of your fashion items.
Choose the right editing apps
The iPhone’s built-in Photos app is a great starting point, but if you want more control, there are fantastic third-party apps to explore:
- Adobe Lightroom Mobile
Perfect for adjusting exposure, contrast, and color with precision. It’s also great for editing RAW images if you’ve used a third-party camera app. - Snapseed
A user-friendly app with advanced features like selective adjustments to brighten or darken specific parts of your photo. - VSCO
Ideal for adding a cohesive look to your images with subtle filters and fine-tuning tools.
These apps make it easy to elevate your product photography with iPhone, whether you’re enhancing colors or removing distractions.
Focus on key adjustments
When editing, less is often more. Aim to enhance your product, not over-edit it. Here are the most important tweaks to make:
- Exposure and Brightness
Brighten the image if it feels too dark, but avoid overexposing, which can wash out details. - Contrast
Increase contrast slightly to make the product stand out against the background. - Color Correction
Adjust white balance to ensure the colors in your photo match the real-life product. This is crucial for building customer trust. - Sharpness and Clarity
Use these tools sparingly to highlight details like stitching or fabric texture.
Maintain consistency
Consistency is key when creating a professional product catalog. Apply similar edits across all your images to ensure they look cohesive.
Most apps, like Lightroom, allow you to create presets that you can apply to multiple photos for a uniform look. This is especially useful for fashion brands showcasing a collection.
Crop and align for perfection
Cropping helps frame your product perfectly. For flat lays, make sure the item is centered and fills most of the frame.
For on-model shots, ensure there’s enough space around the model for a balanced composition.
Use the straightening tool to fix any slightly tilted angles. A perfectly aligned photo makes a huge difference in how polished it looks.
Remove distractions
Sometimes, small imperfections or distractions sneak into your shots—a stray thread, a wrinkle, or a shadow.
Use tools like the healing brush in Snapseed or Lightroom to clean up these blemishes.
If you’re editing flat lays with plans to use a tool like Botika to create on-model images, ensure the background is clean and free of unnecessary elements.
Stick to realism
While it’s tempting to go heavy on filters or dramatic edits, remember that the goal is to represent your product accurately. Customers want to see the true colors, textures, and details, so they know exactly what they’re getting.
Focusing on clean, minimal edits and using the powerful tools available on your iPhone, you can create professional-quality photos that wow your customers. Ready for the final touch? Let’s talk about optimizing your images for your online store!
Optimizing your photos for online use
Once you’ve nailed your edits, it’s time to get your images ready for your website or online store. Optimizing your photos ensures they look amazing, load quickly, and help your products stand out to customers.
With a few simple steps, you can make your product photography with iphone work hard for your business.
Choose the right file format
The format you save your images in matters. For most online platforms, JPEG is the best choice because it balances quality and file size.
PNG is another good option, especially if you need a transparent background. Avoid using uncompressed formats like RAW for uploads—they’ll slow down your website and take up unnecessary storage space.
Compress without sacrificing quality
Large image files can slow down your website, which isn’t great for customer experience or SEO. Use tools like TinyPNG or ImageOptim to compress your photos without losing clarity. Optimized images load faster, keeping customers engaged and more likely to browse your products.
Size your images correctly
Different platforms have different requirements for image dimensions. Check your eCommerce platform (like Shopify, Etsy, or WooCommerce) to see the recommended sizes.
For general use, aim for images that are at least 1024 pixels wide. Consistently sized photos look professional and make your store easy to navigate.
Add descriptive alt text
Alt text isn’t just for accessibility—it’s also great for SEO. Write clear, keyword-rich descriptions for each image, like “blue denim jacket with silver buttons” or “sleek black ankle boots.”
Including the phrase product photography with iPhone in a natural way can also boost your search rankings. This helps your products get discovered by more potential customers.
Watermark if necessary
If you’re worried about image theft, consider adding a subtle watermark to your photos. Tools like Canva or Lightroom make it easy to overlay your logo. Just keep it small and unobtrusive—your products should still be the star of the show.
Test your images
Before launching your photos, test how they look across different devices. What looks great on your computer might not display as well on a mobile screen.
Most customers shop on their phones, so make sure your product photography with iPhone looks crisp and professional on smaller screens.
Showcasing your products to wow your customers
Now that your images are ready, it’s time to put them to work. Great product photos do more than just show off your items—they tell your brand story and make your customers imagine owning your products. With the right mix of styles and shots, your product photography with iPhone can create a visual experience that drives sales and builds loyalty.

Mix it up with lifestyle and studio shots
While clean, white-background photos are perfect for your online store, don’t stop there. Add lifestyle images that show your products in action.
For example, a dress photographed outdoors in natural light or a handbag styled with an outfit on a model helps customers picture how they’d wear or use the item. These shots bring personality to your brand and make your products more relatable.
If you’re shooting flat lays, create scenes that resonate with your audience. Pair a top with accessories like sunglasses and jewelry or place shoes alongside a clutch.
Showcase details and textures
Close-up shots are essential for fashion items. Highlight the stitching, fabric texture, embellishments, or any unique features that make your product stand out.
Product photography with iPhone is effortless, thanks to the camera’s incredible focus capabilities, which make capturing fine details a breeze. Customers especially appreciate seeing the craftsmanship up close when shopping online.
Make the most of social media
Social platforms like Instagram and Pinterest are perfect places to showcase your photos. Use creative flat lays, behind-the-scenes shots, or even short videos of your products in action.
Bright, eye-catching images stand out on busy feeds, helping you attract more customers. Incorporating lifestyle images alongside traditional product photos can also boost engagement.
Tell a story with collections
If you’re launching a new collection or seasonal line, create cohesive imagery that ties the products together. Use similar backdrops, lighting, or props to make the collection feel unified.
A series of images that work together can tell a story, creating a stronger emotional connection with your audience.
You’ve mastered product photography with iPhone for your fashion SMB
Congratulations! You’ve just unlocked the secrets to amazing product photography with iPhone that will take your fashion business to the next level.
From gathering the right tools to setting up your perfect DIY studio, styling your products, and mastering your iPhone’s camera features, you now have all the steps to create professional-quality images. Add in editing tips, optimization techniques, and creative ways to showcase your photos, and you’re ready to wow your customers.
Remember, great product photos aren’t just about looking good—they’re about telling your brand story, building trust, and driving sales. Whether you’re capturing lifestyle shots, flat lays, or on-model images, the effort you put into your photography will pay off by creating a strong visual connection with your audience.
And if all this feels overwhelming, don’t forget that Botika is here to help. From turning flat lays into on-model shots to streamlining your editing and optimization process, Botika makes product photography with iPhone even easier. With the right tools and these tips in your back pocket, you’re ready to create stunning photos that showcase your products and grow your brand.
<blogcta-2>
Product photography is effortless—just find the right person in the right size and pose, follow Botika's tips, and you're all set. Easily transform flat lays into on-model shots while streamlining your editing and optimization process.
With the right tools and these tips in your back pocket, you’re ready to create stunning photos that showcase your products and grow your brand. So grab your iPhone, start snapping, and let your creativity shine.
.webp)


