Ghost Mannequin Photography Tips for Fashion Brands
.webp)
If you're running a fashion brand, you know great product photos are a must. But booking models or planning full-on photoshoots for every item? That can get expensive—and fast. That’s where ghost mannequin photography can come in.
It’s a simple, reliable way to make your clothes look like they’re being worn—without needing a model. Just two photos and a bit of editing, and you’ve got a clean, “floating” look that shows off the shape and fit of your product.
In this guide, we’ll walk you through everything you need to know to get started, including:
- How to set up your space and shoot like a pro
- Tips to keep your workflow fast and simple
- Common mistakes (and how to avoid them)
- Two bonus tricks most guides don’t cover
Plus, we’ll wrap up with a few ways to take your images even further.
Why people still use ghost mannequin photography
Ghost mannequin photography has been around for years—and it’s still one of the most popular ways to shoot clothing. Why? Because it gives you the best of both worlds. Your product looks like it’s being worn, but you don’t need a model, a big studio, or a full creative team.
This method makes your clothes look clean, structured, and professional. It helps shoppers understand how a piece fits and falls, without any distractions. It’s also more budget-friendly and easier to repeat than full-on model shoots—perfect if you're launching a lot of products or updating your store often.
In short: it keeps the focus on the clothes, saves time and money, and gives you the polished look every fashion brand wants.
How it actually works (don’t worry—it’s not that complicated)
Ghost mannequin photography might sound complex, but it’s actually pretty simple. All it takes is two photos and a bit of editing.
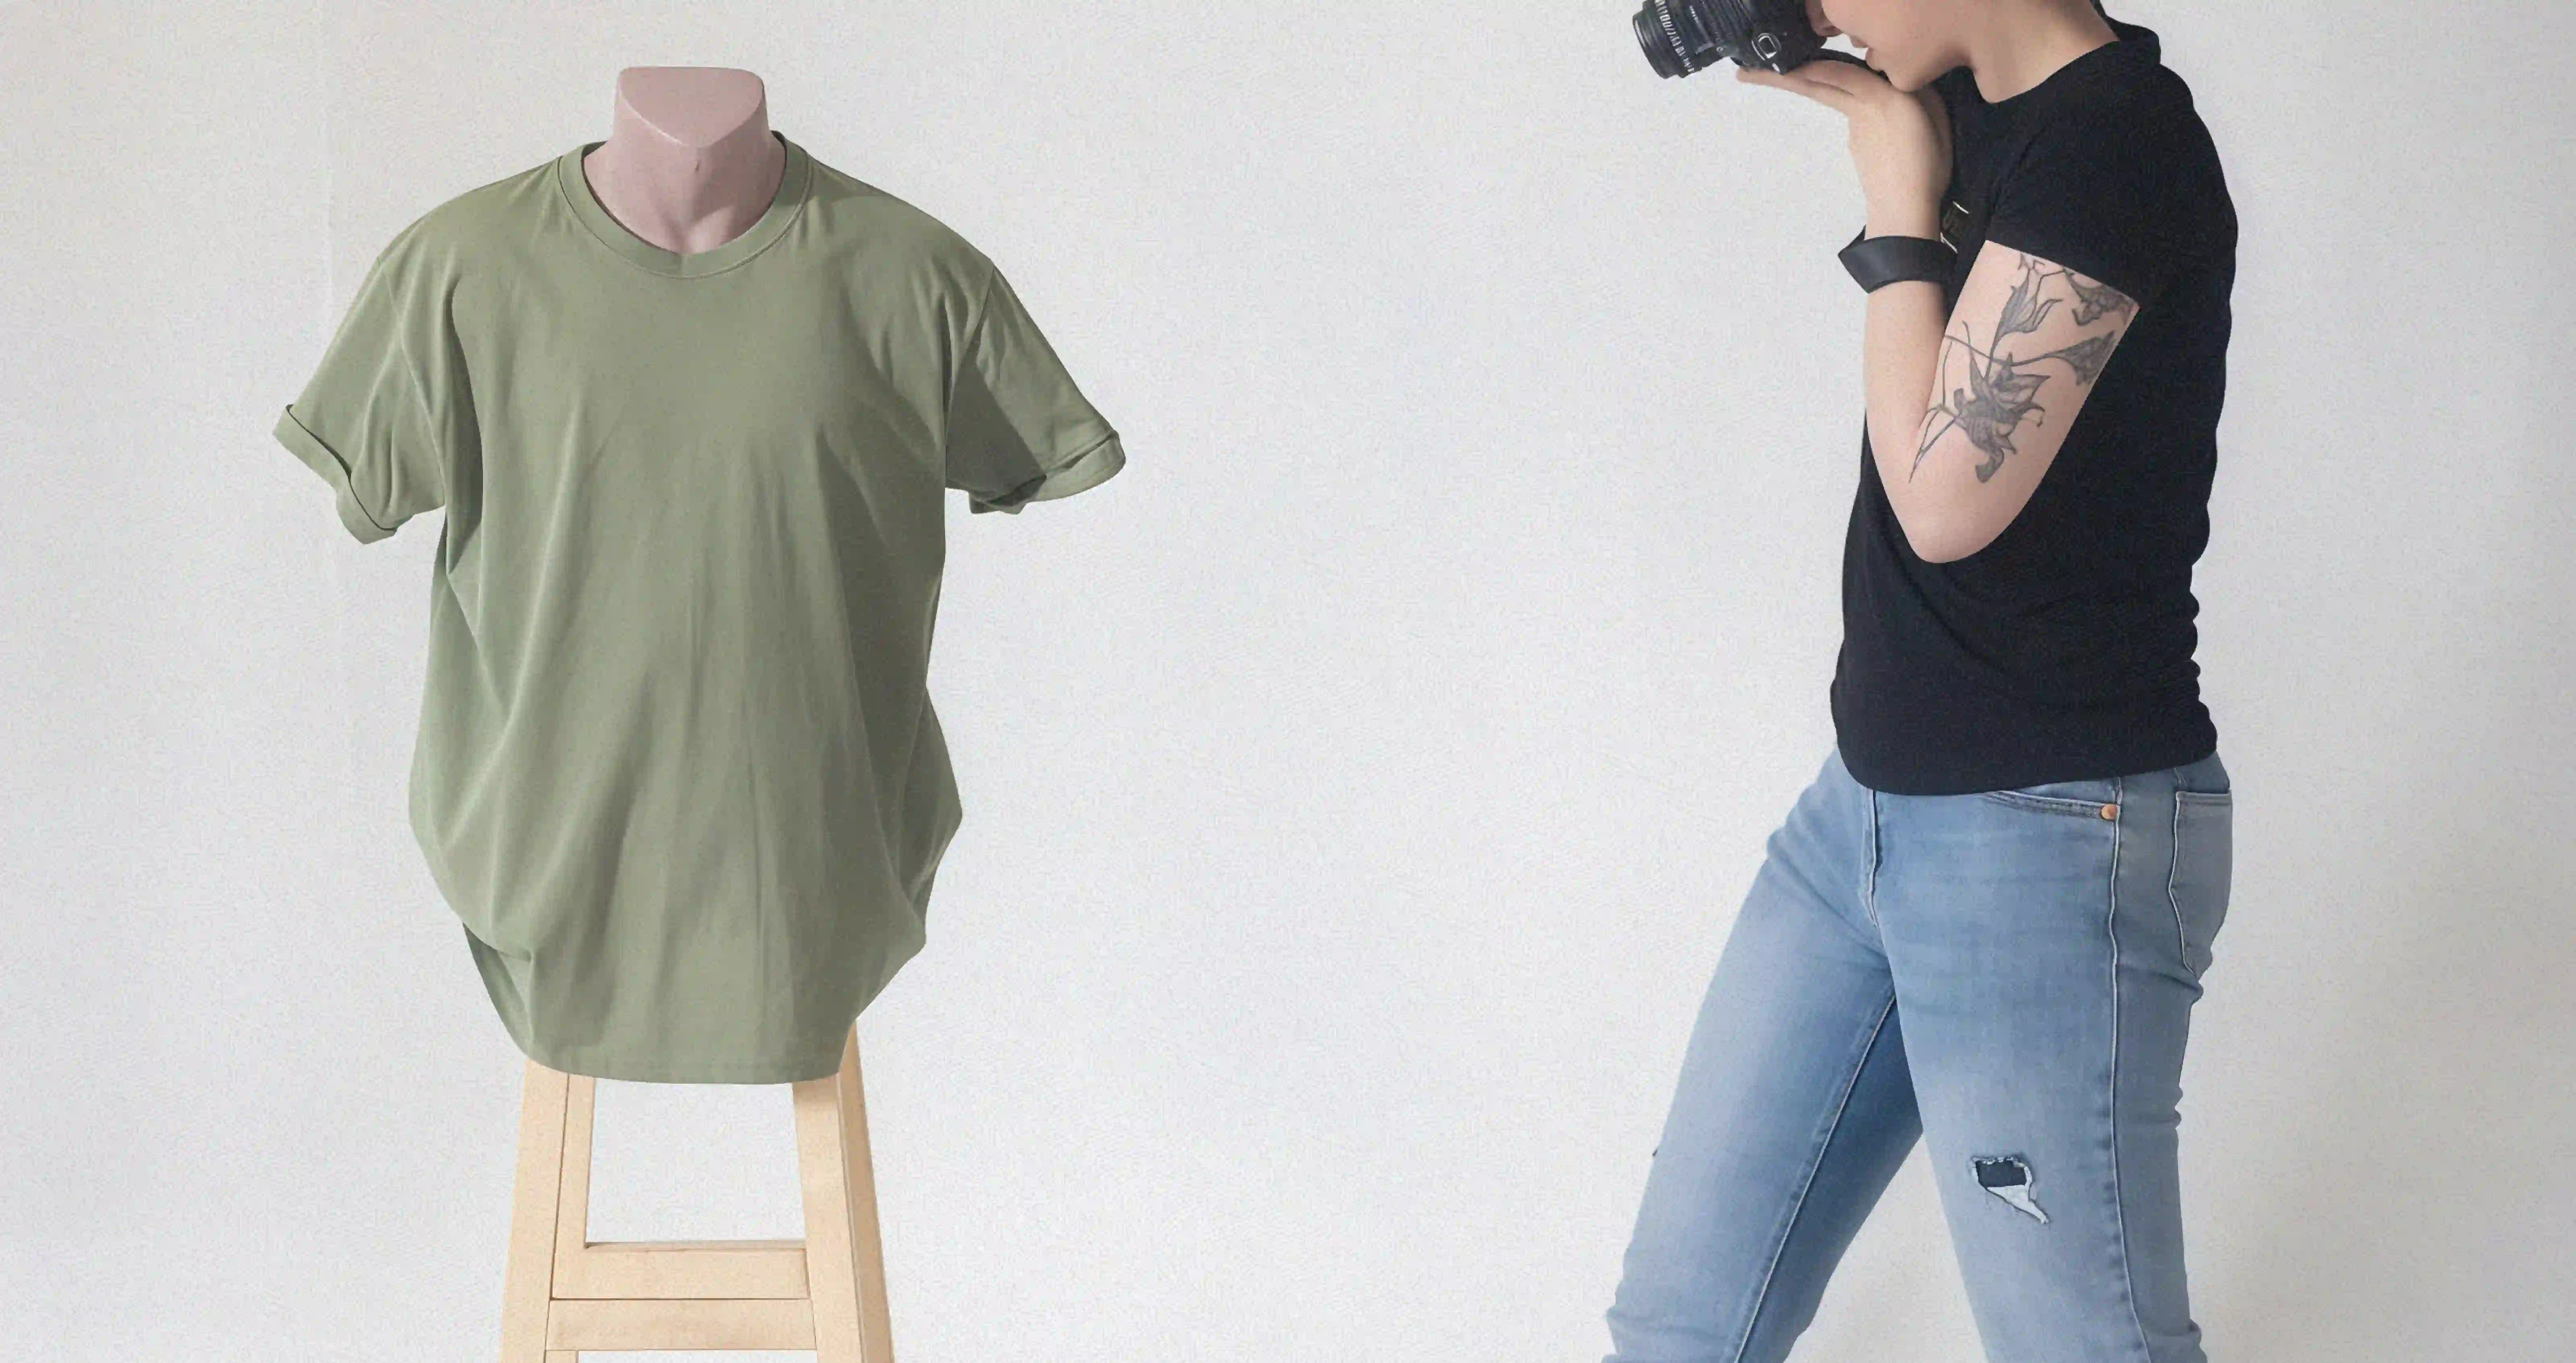
First, you place your garment on a mannequin and take your main shot—this shows the full piece as if someone is wearing it. Then, you take a second photo that shows the inside of the garment (usually around the collar or neckline). You might remove part of the mannequin or use a wire to hold the shape.
Once you’ve got both images, you bring them into editing software. You cut out the mannequin, blend in the second photo to fill the gaps, and just like that—you’ve created the “ghost” effect. The final image shows the shape and structure of the clothing, but without any mannequin or background distractions. Just the product, front and center.
It’s a little bit of styling, a little bit of editing, and a big step up for how your clothes look online.
What you need to get started
You don’t need a fancy studio or a huge budget to start shooting ghost mannequin photos. With a few basic tools and a bit of setup, you can create clean, professional-looking images right from your home or office.
If you’ve already been taking product photos, chances are you have most of what you need. Here’s a simple checklist to help you get set up:
Equipment you’ll need:
- A modular mannequin
- Look for one with removable parts (like the neck, arms, or chest) so you can capture those inside collar shots easily.
- A DSLR or mirrorless camera
- A 50–85mm lens is ideal. It keeps your garment proportions accurate and avoids distortion.
- Lighting setup
- Softbox lights or continuous LED panels help spread light evenly and reduce harsh shadows.
- A sturdy tripod
- Keeps your camera steady and your shots consistent across all angles and sizes.
- A white or light grey backdrop
- Seamless paper or fabric works well. A clean background keeps the focus on your product.
- Clips, pins, and bendable wire
- These help style the garment and keep it fitted to the mannequin for a better shape.
- Editing software
- Programs like Photoshop, GIMP, or similar allow you to layer, mask, and clean up your shots to get the ghost mannequin effect.
How to set up your space:
- Lighting placement
- Set up two lights at 45° angles in front of the mannequin. This softens shadows and gives the image a balanced look.
- Camera height and distance
- Keep the camera lens level with the middle of the garment (around chest height for tops or hip height for pants). Use gridlines in your camera view to keep everything centered.
- Mark your spots
- Use masking tape to mark the placement of your mannequin and tripod. This makes it easier to keep framing consistent if you're shooting multiple items in one session.
- Use masking tape to mark the placement of your mannequin and tripod. This makes it easier to keep framing consistent if you're shooting multiple items in one session.
Once you have your setup in place, you’ll find it’s quick to reuse for future shoots. The more you use it, the faster and easier it becomes to create high-quality images.
Two smart tricks most people don’t know
Want your shots to look even better with less editing? Try using bendable wire to help shape hoods or collars. And if your images feel a little flat, you can add a soft shadow using a piece of paper or fabric off to the side. These small things make a big difference.
- DIY Cullis Wire Support
Certain garments—like hoodies, oversized jackets, or anything with bulk—don’t naturally hold shape when photographed. You can improve structure without extra retouching by creating a custom wire frame that lives inside the garment during your shoot. - Shadow Texture Card for Lifelike Depth
Even well-lit ghost mannequin shots can look flat. Designers often underestimate the power of controlled shadow textures. A simple offset card can add depth and realism to your final photo.
Common things that go wrong (and how to fix them)
This method is great—but it’s not perfect. If your photos feel flat, or your edits don’t line up, don’t stress. A few quick fixes can make your images look more polished and professional without redoing the whole shoot.
- Too flat images
- Fix this with consistent ambient lighting and slightly angled shadow cards.
- Offset edits
- Prevent by taping tripod and mannequin positions once your lighting is set.
- Misaligned composite shots
- Always shoot detail shots with the same framing as your main shot.
<blogcta>
Step-by-step: the ghost mannequin photo process
If you’re new to ghost mannequin photography, don’t worry—it’s easier than it sounds. The process is pretty straightforward: you get your clothes ready, set up your lights and mannequin, take a few key shots, and then do some basic editing. It might take a little practice at first, but soon you’ll be running through it like a pro.
Here’s a simple breakdown:
- Pick clothes that hold their shape.
- Jackets, shirts, and dresses work best because they keep a nice form on the mannequin.
- Jackets, shirts, and dresses work best because they keep a nice form on the mannequin.
- Prep your garments.
- Give everything a good steam to smooth wrinkles and use a lint roller to get rid of fuzz or dust.
- Give everything a good steam to smooth wrinkles and use a lint roller to get rid of fuzz or dust.
- Set up your shooting space.
- Use a plain white or grey background, set your lights on either side to soften shadows, and get your tripod ready to keep the camera steady.
- Use a plain white or grey background, set your lights on either side to soften shadows, and get your tripod ready to keep the camera steady.
- Place your mannequin and mark positions.
- Tape down spots for the mannequin and tripod legs so you can keep everything in the same place for consistent shots.
- Tape down spots for the mannequin and tripod legs so you can keep everything in the same place for consistent shots.
- Attach any wire supports inside the garment.
- This helps bulkier pieces like hoodies or coats hold their shape perfectly.
- This helps bulkier pieces like hoodies or coats hold their shape perfectly.
- Start shooting:
- Take the main shot of the garment on the mannequin, showing the full outfit.
- Take a close-up interior shot by detaching the neck or using a wire pop-out to capture details like labels or collars.
- Add a shadow texture card (like a piece of paper or fabric)
- Place it just off to the side to give your photo some natural depth and avoid flatness.
- Place it just off to the side to give your photo some natural depth and avoid flatness.
- Import your photos into editing software
- Mask out the mannequin
- From the main shot and layer in the detail shot to fill any gaps, creating the “ghost” effect.
- From the main shot and layer in the detail shot to fill any gaps, creating the “ghost” effect.
- Use action templates or presets
- This will add realistic shadows and highlights that bring your images to life.
- This will add realistic shadows and highlights that bring your images to life.
- Save your final images as high-resolution PNG files
- Also keep your editing templates handy to speed up future shoots.
- Also keep your editing templates handy to speed up future shoots.
- Repeat the process for every color and size you need.
With each shoot, you’ll get faster and your images will look more professional. Soon enough, you’ll have a smooth workflow that saves you time and money.
How to make your images pop
Want your product photos to look sharper and more professional? Here are two easy tips that make a big difference:
- Keep your background colors the same across all photos.
When every image has a consistent background, your store looks cleaner and more put-together. It makes shopping easier and more enjoyable for your customers. - Add a little shadow or soft lighting around your product.
This small touch gives your photos more depth and makes the clothes stand out. It helps your images look less flat and more lifelike—without needing extra editing skills.
These simple steps help your store look more polished and make your product photos more eye-catching.
Where ghost mannequin photography falls short
Ghost mannequin photos look clean and professional, but they do have some limits. Because the images show only the clothes on a mannequin, they can feel a bit flat or lifeless. There’s no movement, no personality, and no real-life context to help shoppers imagine wearing the product.
This means ghost mannequin shots work best as part of a bigger picture. Combining them with other photo styles—like close-ups that highlight fabric details or lifestyle shots that show the clothing in action—gives customers a fuller, more trustworthy view of your products.
Using a mix of photo types builds more confidence in shoppers, helps them understand your brand better, and can lead to more sales with fewer returns.
A quick look at other options
Ghost mannequin isn’t the only way to shoot your clothes, but it’s one of the most affordable and repeatable. Flat lays are faster and easier to set up, model shoots bring more life and personality, and 3D renderings offer futuristic possibilities (though they can take a lot of time and expertise).

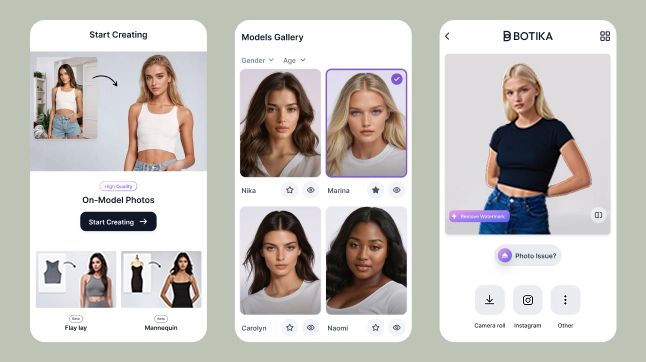
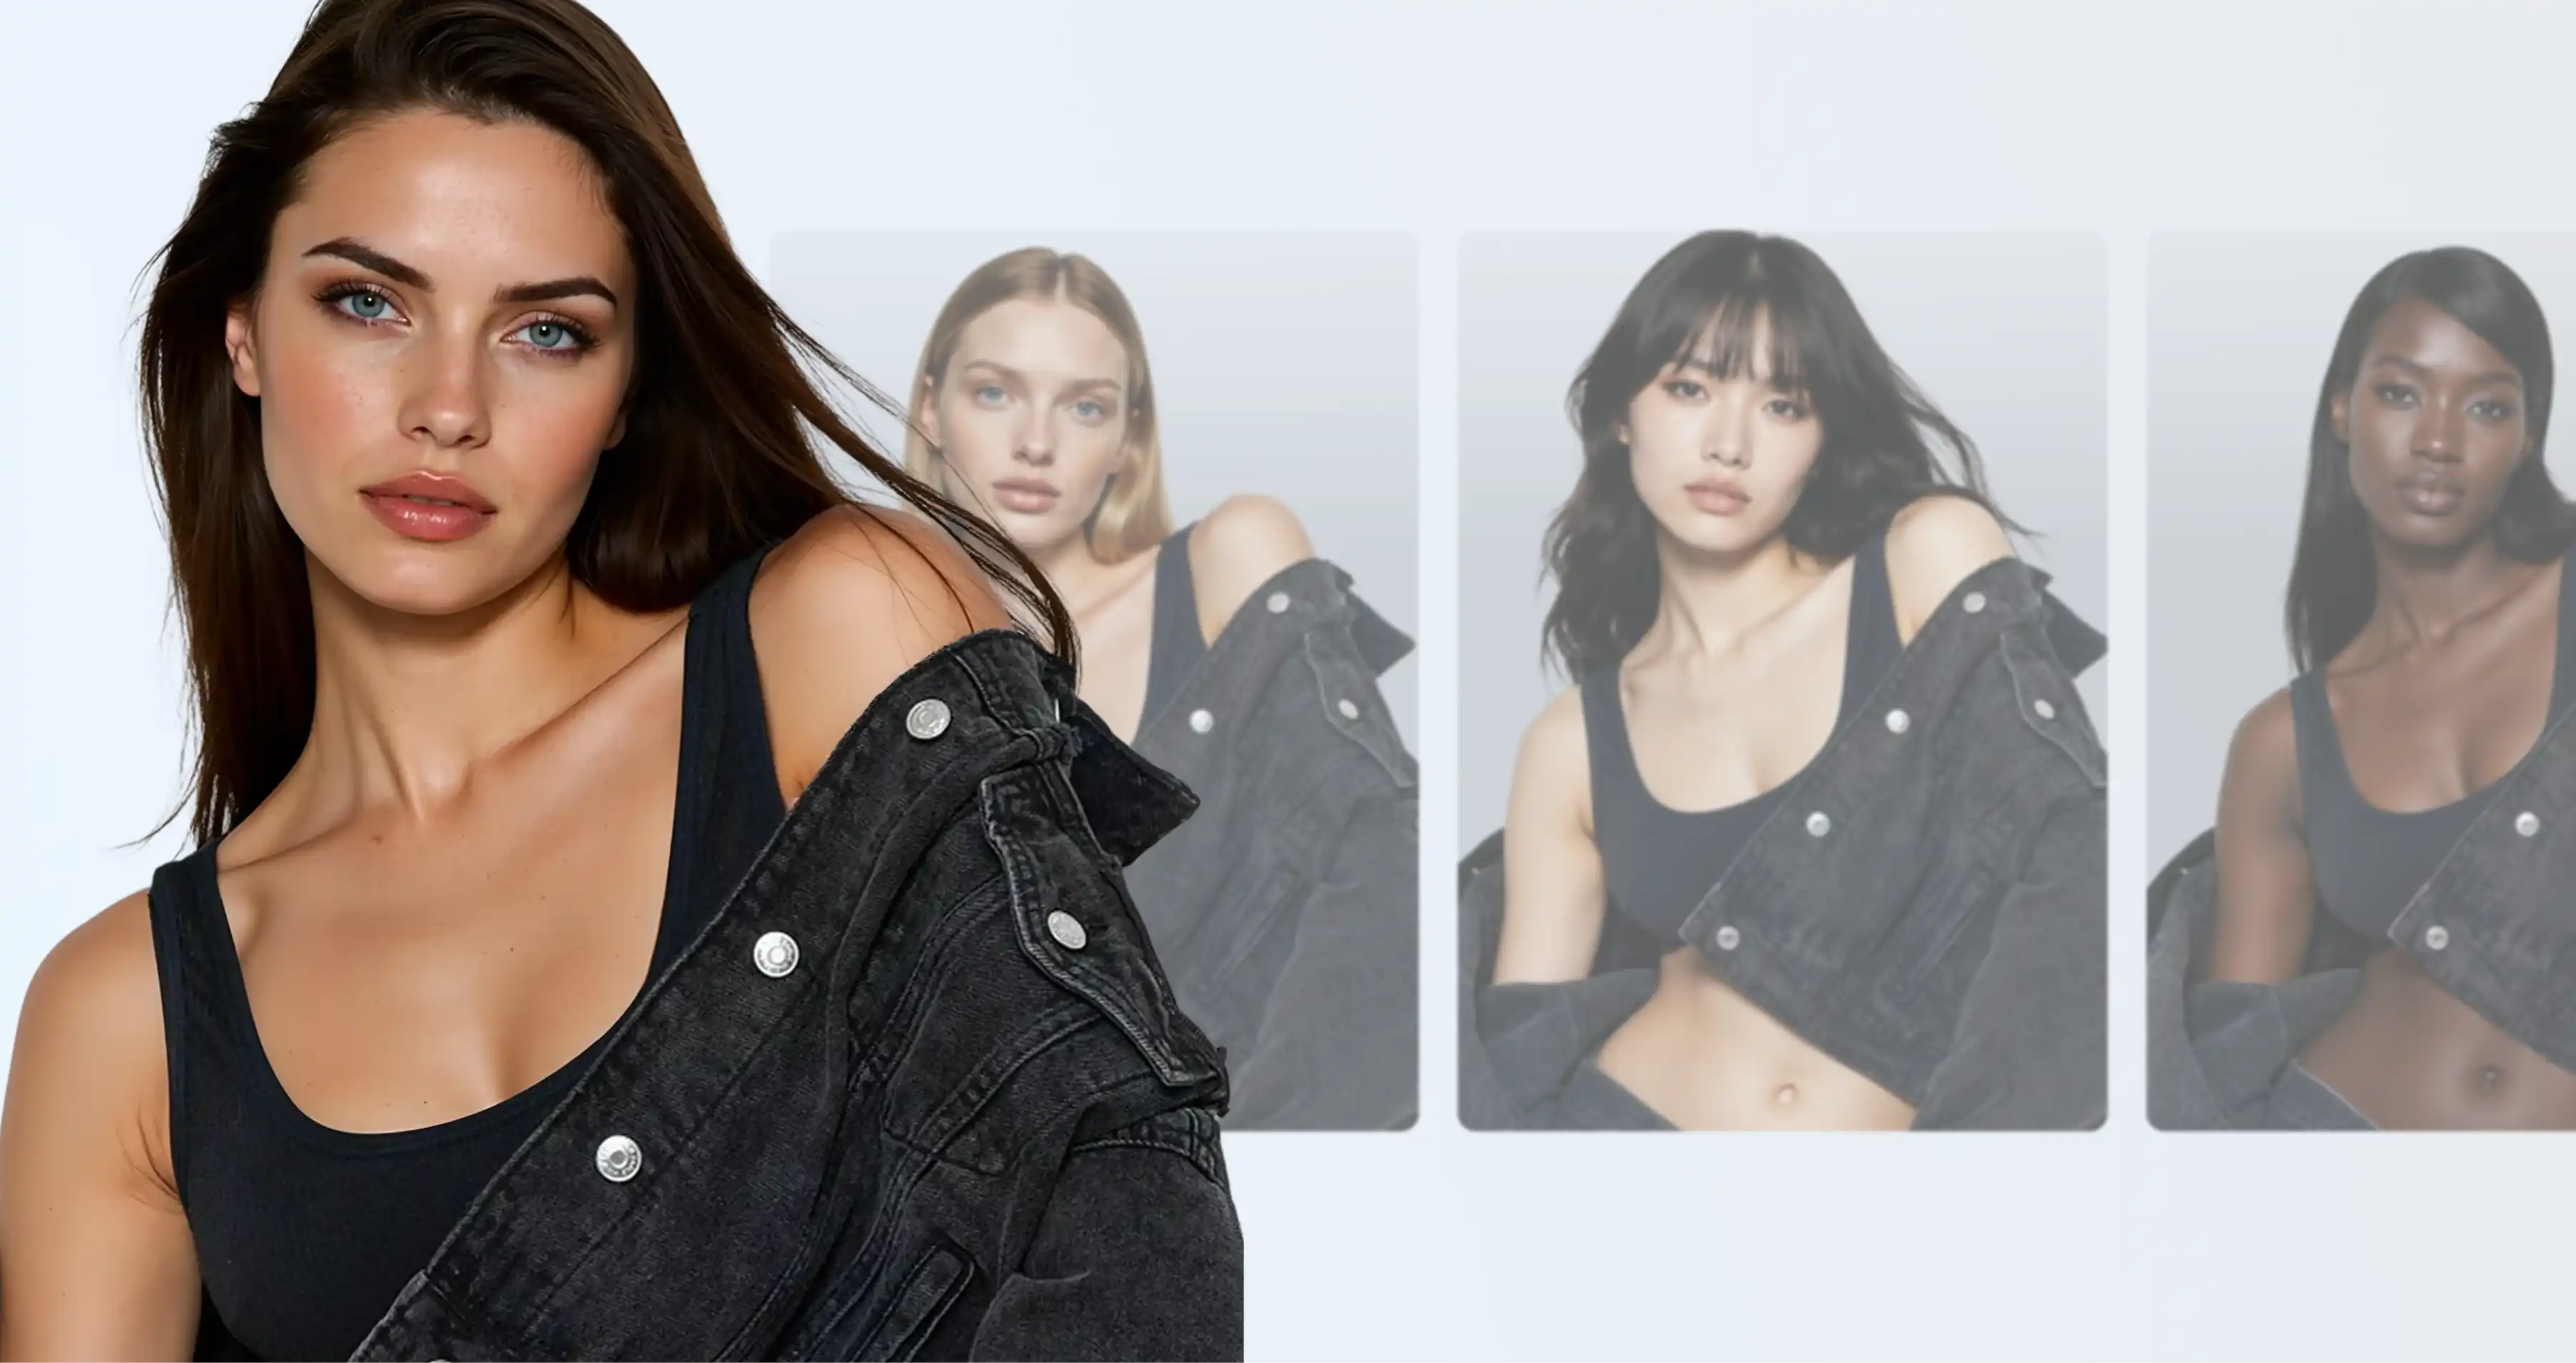
But here’s the exciting part: with tools like Botika.io, you don’t have to choose just one style or spend a fortune on photoshoots. You can take any image—whether it’s a flat lay, a ghost mannequin shot, or even an on-model photo—and instantly transform it into a professional, on-model look or video.
Using a variety of photo and video styles helps your brand in big ways. It shows your products from all angles, giving shoppers a better sense of fit, texture, and style. This builds trust and confidence—making customers more likely to buy and less likely to return items because they know exactly what to expect.
With this approach, you scale your content faster, save on production costs, and keep your product imagery fresh and engaging across all your sales channels.
It’s a new way to get the best of all worlds—efficiency, quality, and style—without the usual headaches.
<blogcta-2>
A few tips to help your photos show up online
Once your photos are ready, don’t just upload them and hope for the best. A few small steps can make a big difference in how fast your site loads and how many people find your products online:
- Give your files clear names:
Use simple words that say what the product is, like blue-jacket-ghost-mannequin.jpg. This helps Google understand your photos. - Add alt-text:
This is a short description you write for each image. It helps people who can’t see the photo and also helps Google know what your image is about. - Make sure your images aren’t too big:
Huge files can slow down your site and make shoppers leave. Keep your pictures around 2000 pixels wide and save them as JPEG or WebP files to keep them sharp but fast. - Compress your images:
Use free tools to make your files smaller without losing quality. This helps your pages load faster. - Keep your background and style consistent:
When your photos look alike, your shop feels more professional and easy to browse.
Doing these simple things means your photos will look great, load quickly, and show up better when people search online.
Wrapping it up
Ghost mannequin photography is a reliable and proven way to showcase your products with a clean, professional look. While it does require some setup, careful styling, and editing, the investment pays off by helping you create consistent, high-quality images that build trust with your customers. Once you’ve mastered the process, it can save you significant time and money compared to full model shoots, making it ideal for brands that need polished photos at scale.
Keep in mind, though, that ghost mannequin photos work best when combined with other types of images—like close-up details and lifestyle shots—to give shoppers a full sense of your products. By blending these styles, you’ll create a more engaging and trustworthy shopping experience that helps your brand stand out.
With practice, patience, and the right tools, ghost mannequin photography can become a powerful part of your product storytelling toolkit—helping you launch collections faster, attract more buyers, and grow your business with confidence.
.webp)